

How do you defeat Colossus?
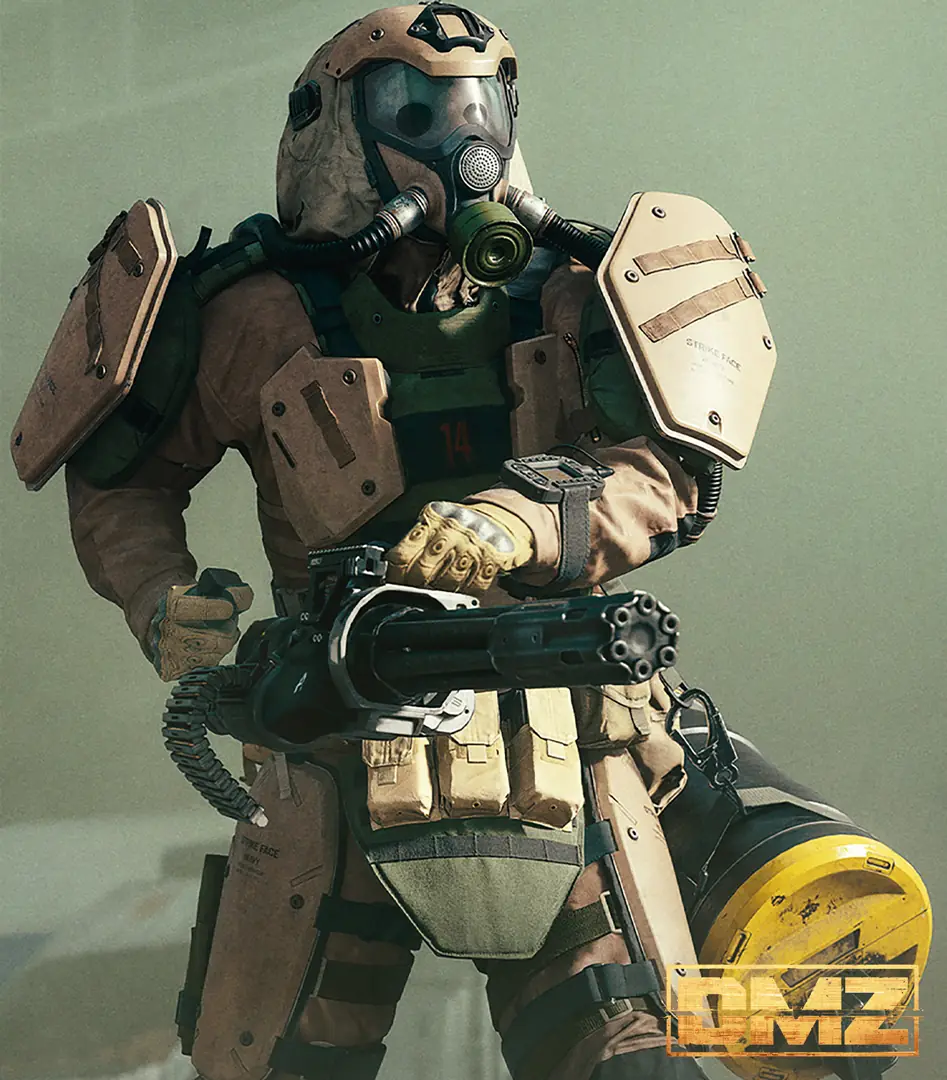
Colossus is one of three Commanders you’ll face during solo missions or co-op runs on DMZ mode in Call of Duty: Modern Warfare 4. The other two are Battle Tank and Deathstalker. Colossus can be found at the Cheonwang Peak Array, Prison/Citadel, or Armory locations.
General preparation: Bring ammunition for your preferred weapon(s), armor to resist gunfire, and choose a safe retreat route in case you need to escape during combat. Cover is important; find natural or artificial cover that allows you to shoot at the enemy without exposing yourself.
Method 1: Shock Sticks + Thermite
This method relies on throwing equipment rather than firing weapons directly:
-
Approach Colossus cautiously, as he will detect your presence.
-
Throw Shock Sticks from behind cover.
-
Immediately follow up with Thermite, then retreat for safety.
Method 2: AP Ammo
If you prefer not to use Shock Sticks and Thermite together:
- Use armor-piercing ammunition in an LMG or AR; LMGs are my preferred method for Colossus.
- Fire sustained bursts from cover.
- Retreat for safety after each burst.
Alternative: Drill Charges
The October 25 patch reduced Drill Charge damage against enemy Colossus. They still work:
- Use them in combination with other methods if needed (e.g., Shock Sticks + Thermite).
- Clear nearby guards first; then use elevated cover where available.
- Move between minigun bursts, reload and replate out of sight.
Loot & Ingredients:
Military Composites and Experimental Compounds are reported ingredient finds. Other possible drops include High-Tenacity Fibers. I have also found Structural Alloy and Ballistic Fabric, both of which can be hard to find. Search his body area after defeating him and extract with the loot; drops are variable.
Encounter Examples:
Colossus has been spotted at the construction site beside Songdo Wharf/La Grande Vie; avoid lingering in gas while approaching his body. He also appears during Deadtown encounters or on missions like Armory and reactor tasks.
Battle Tank: How to Destroy the Tank
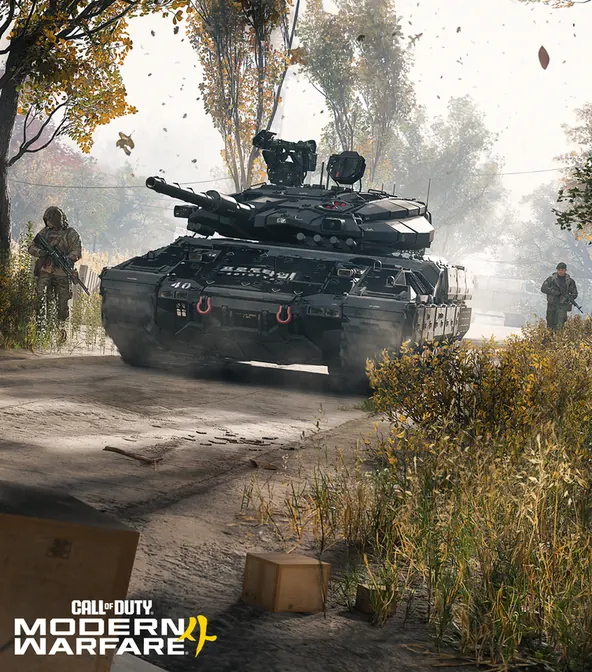
Method 1: Impact Warhead and DDoS
According to community reports, one shot of the Impact Warhead killstreak usually destroys the Battle Tank in a single strike.
If you don’t have an Impact Warhead:
- Use DDoS first to disable its Reactive Armor System:
- Once disabled, use explosives from cover until the tank is destroyed.
Method 2: RPGs
RPGs can also destroy Battle Tank if you prefer this method:
- Approach carefully; he will detect your presence.
- Use Rocket Launchers (RPG) for repeated attacks.
Thermite and critical hits
Target the tank’s sides with Thermite. For a critical hit, aim RPGs, grenade launchers or Thermite at the opening on top of the turret. I get extra damage and a critical-hit notice from these top-opening attacks.
Combat and Loot Guidance
- Use DDoS first, then alternate explosives:
- Approach using hard cover; clear nearby infantry.
- Break line of sight after each attack to reload or resupply (Ammo Box available).
- Move to another angle if his turret covers your exit.
Loot at Wreck:
- Vehicle Engine panel visible upon destruction
How Do You Shoot Down Deathstalker?
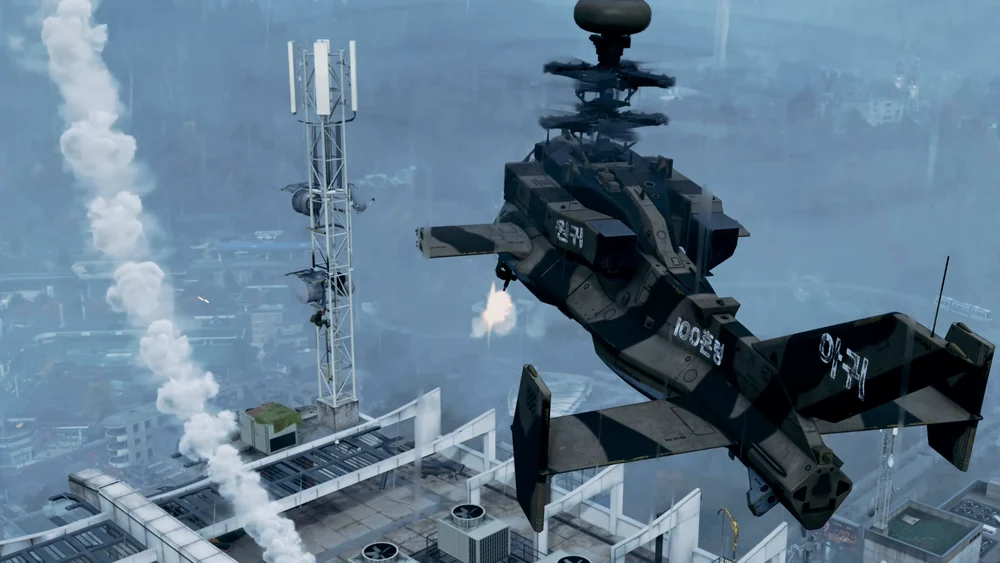
Deathstalker is an aerial drone and can be taken down using a variety of weapons:
-
Track nearby Commander warnings on the Tac Map.
-
Sniper Rifles:
- Use rifles like Astaroth, Vulcan, or other high-damage sniper weapons.
- I have taken Deathstalker down in three or four shots with The Kraken, which can be obtained from Roze. Other snipers and marksman rifles are options too; the Kraken is not required.
-
RPGs/SAM Sites: Optional methods if you prefer a different approach:
- Approach carefully; Deathstalker will detect you. Use an RPG or capture a SAM Site for repeated attacks.
- Players report that DDoS at close range can create a firing opportunity; it does not reliably prevent flares.
- Cover and Loot:
- Use cover between his passes: break sight during attacks, then reload behind it to avoid incoming fire.
- Search multiple Helicopter Piece wreck containers in the area; reported loot includes Prototype RF Module, Printed Circuit Board, Volatile Explosives, and Drone Motherboard.
Optional Setup for SAM Sites: Clear a nearby SAM Site first. Flares can defeat repeated missile shots even after capture; snipers do not require this setup.
Watch for other squads while searching the wreck, then extract with the ingredients.